I am trying to have different layout for my User Story work item.
First I download the UserStory template xml using power tools.

Now for folks who are used to do TFS customizations only with power tools..Hey this not going work that way..You need to have a bit of a XML here.
Open the downloaded UserStory.xml file (for safety I keep original and use a copy of UserStory.xml as UserStoryModified.xml)
Go to the Form node and copy the Layout node content and paste it between Form xml tags
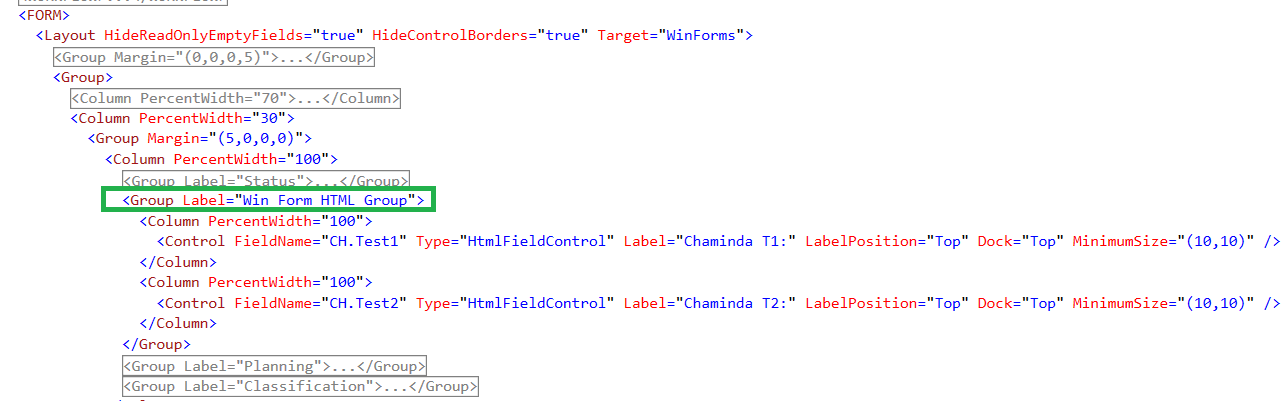
Then Add attribute Target to each of the Layout node "WinForms" for Visual Studio/Team Explorer, "Web" for Web Access layout.

Important: If you have used Name attribute in any nodes of the duplicated Layout node content make sure the "WinForms" and "Web" layouts have different names defined for example like below.


Now we can customize the layouts as we would like it to appear in Web Access & within Visual Studio or Team Explorer. (Again if you try to open this with TFS power tools you will only see the Layout which is in top. So you have to do this in xml :) )
For Web Access

After importing UserStoryModified.xml with power tools,
User Story in Visual Studio/Team Explorer

Same User Story in Web Access

Cool isn't it?
For more info check below
Specifying Different Layouts for Different Targets
Design the Layout of the Work Item Form


No comments:
Post a Comment